Seclore for Desktop Agents
This feature allows you to customize Seclore agents to suit your organization's specific needs .
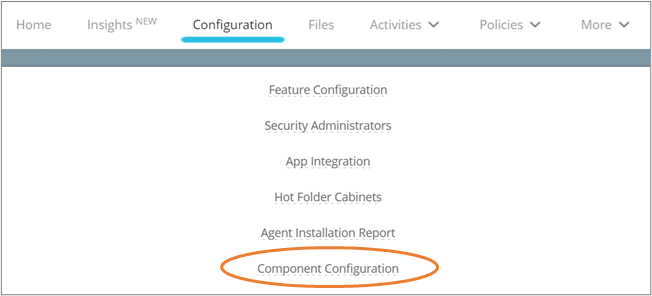
To configure this application through the Policy Server portal, click on Configuration. Then click Component Configuration.
Click Add Component to add a new component.
Let's go through component details along with each parameter and its value.
Component details
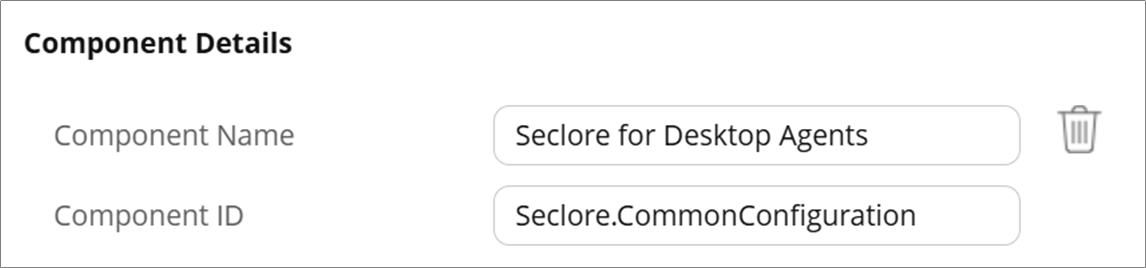
- Component Name: Seclore for Desktop Agents
- Component ID: Seclore.CommonConfiguration
Click Add Parameter to add any of the following parameters.
Enable Classification butter bar on Unclassified emails
This parameter controls the display of the classification butter bar in Outlook. When set to 'Always,' the butter bar will appear on all emails, including unclassified ones. When set to 'Default,' it only will appear on classified emails.
This is an optional configuration. If not set, it will follow the same behavior as the 'Default' setting.
Here's how you configure it.
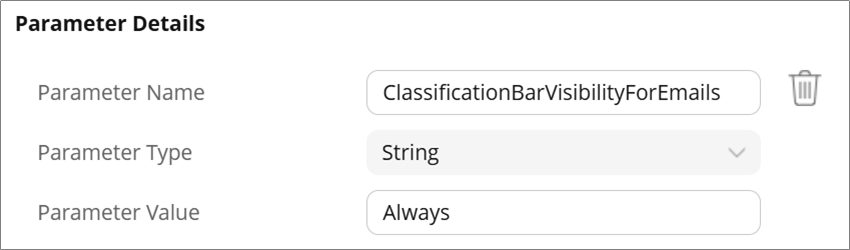
- Parameter Name: ClassificationBarVisibilityForEmails
- Parameter Type: String
- Parameter Value: Enter Always to see the classification bar on all emails in Outlook.
Note: The classification bar will display the text 'Item not classified' on unclassified emails.
Disable Classification butter bar on Classified files
This parameter controls the display of the classification butter bar in Microsoft Office applications. When set to 'Never,' the butter bar will not be shown on all files, including classified ones. When set to 'Default,' it will appear on classified files.
This is an optional configuration. If not set or spelled incorrectly, it will follow the same behavior as the 'Default' setting.
Here's how you configure it.
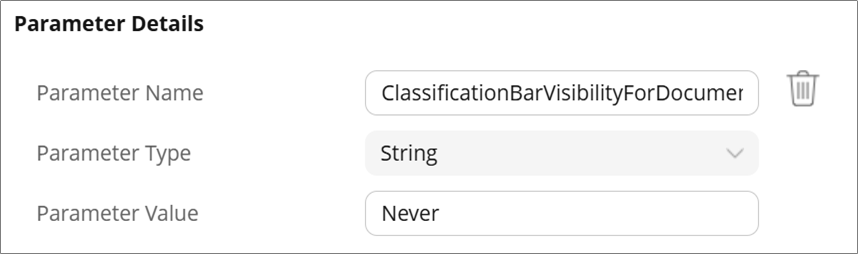
- Parameter Name: ClassificationBarVisibilityForDocuments
- Parameter Type: String
- Parameter Value: Enter Never to disable the classification bar on Office files.
Enable Copilot for protected Office files
This parameter controls the visibility of the Microsoft Copilot chat pane in Word, PowerPoint, and Excel. By default, the chat pane is disabled in all three applications. You will see the Copilot chat pane for protected documents only by configuring this parameter. When enabled, a watermark will appear within the Copilot chat pane for protected content .
Here's how you configure it.
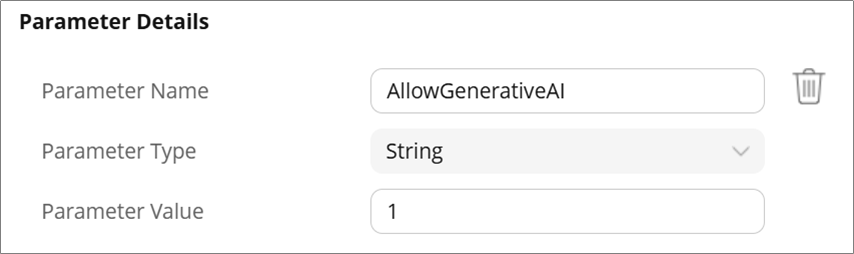
- Parameter Name: AllowGenerativeAI
- Parameter Type: String
- Parameter Value: Enter 1 to enable Copilot for protected Office files. Enter 0 to disable it.
Note: The default value for this parameter is 0. If an invalid value is provided, the system will revert to the default behavior.
Maximum Classification Labels Display in Office Ribbon
This parameter allows you to specify the maximum number of classification labels displayed in the Office ribbon. When the number exceeds this limit, additional labels will appear in a dropdown.
Here's how you configure it.

- Parameter Name: MaxLabelsForFlatRibbonLayout
- Parameter Type: String
- Parameter Value: 0 to 6
Note: - If the configuration value is not provided, it will default to 6.
- If the configuration value is negative or 0, it will be considered as 0 and all labels will be displayed in a dropdown layout.
- If the configuration value is between 1 and 6:
* If the number of labels is less than or equal to the configuration value, they will be displayed in a button layout.
* If the number of labels is greater than the configuration value, they will be displayed in a dropdown layout. - If the configuration value is greater than 6, it will be capped at 6, and the same logic will apply (≤6 → button layout, >6 → dropdown layout).
Maximum Time for Initial Installation Report
This parameter specifies the maximum time (in minutes) allowed for sending the initial agent installation report to the Policy Server.
Here's how you configure it.

- Parameter Name: MaxTimeToSendInstallationReport
- Parameter Type: String
- Parameter Value: Positive integral value
Note: - The initial report refers to the very first report sent after installing the desktop agent.
- This timer is also used when sending an installation report after a component upgrade.
- This configuration is optional. If no value is set, the default is 60 minutes.
Minimum Time for Initial Installation Report
This parameter specifies the minimum time (in minutes) allowed for sending the initial agent installation report to the Policy Server.
Here's how you configure it.

- Parameter Name: MinTimeToSendInstallationReport
- Parameter Type: String
- Parameter Value: Positive integral value
Note: - The initial report refers to the very first report sent after installing the desktop agent.
- This timer is also used when sending an installation report after a component upgrade.
- This configuration is optional. If no value is set, the default is 0 minutes.
- The initial installation report is sent at a random time within the range between the minimum and maximum configured times.
Example: If MinTimeToSendInstallationReport is 10 minutes and MaxTimeToSendInstallationReport is 30 minutes, the report will be sent at a random time within the 20-minute window.
Maximum Interval for Periodic Installation Reports
This parameter specifies the maximum time interval (in minutes) for sending a periodic agent installation report to the Policy Server.
Here's how you configure it.
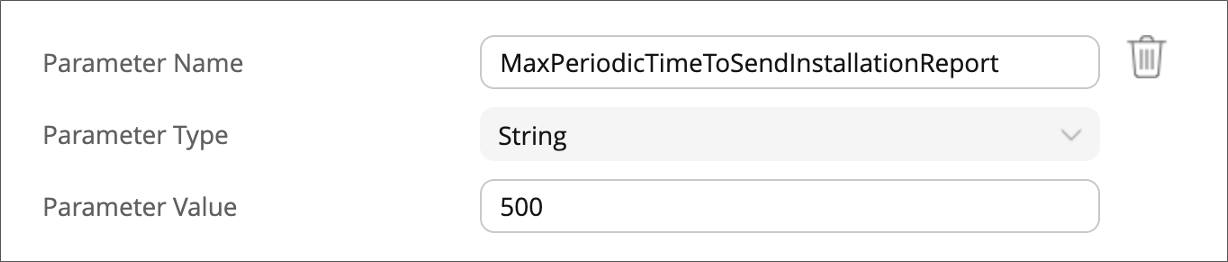
- Parameter Name: MaxPeriodicTimeToSendInstallationReport
- Parameter Type: String
- Parameter Value: Positive integral value
Note: - The desktop agent sends periodic installation reports at defined intervals.
- This configuration is optional. If no value is set, the default is 1440 minutes (24 hours).
Minimum Interval for Periodic Installation Reports
This parameter specifies the minimum time interval (in minutes) for sending a periodic agent installation report to the Policy Server.
Here's how you configure it.
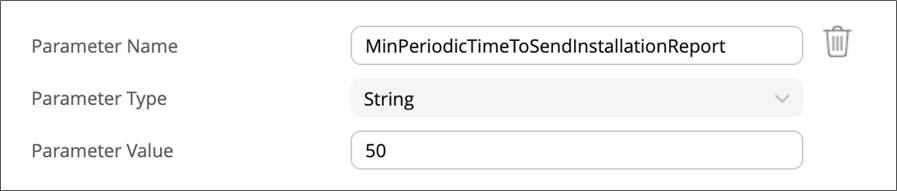
- Parameter Name: MinPeriodicTimeToSendInstallationReport
- Parameter Type: String
- Parameter Value: Positive integral value
Note: - The desktop agent sends periodic installation reports at defined intervals.
- This configuration is optional. If no value is set, the default is 0 minutes.
- The first periodic report is sent at a random time within the range between the minimum and maximum configured times.
- Subsequent periodic reports are sent at fixed intervals equal to the difference between the maximum and minimum values.
Example: If MinPeriodicTimeToSendInstallationReport is 60 minutes and MaxPeriodicTimeToSendInstallationReport is 180 minutes, the first report will be sent at a random time within the 120-minute window, and subsequent reports will be sent every 2 hours. - Randomizing the first report helps prevent all agents from sending reports at the same time, reducing load on the Policy Server.
Click Save when you're done. The changes may take up to 24 hours to be applied.